3 Quick Steps for Assessing Soil Compaction
Oct. 4 2012
Tech-Tip
Many growers do their deep tillage in the fall, to avoid drying the ground out in the spring. If you're tilling after harvest, it is important to know the level of soil compaction in your fields.
By following these steps to measure compaction, you will know the proper depth at which to set your tillage equipment in order to help your plants thrive next spring.
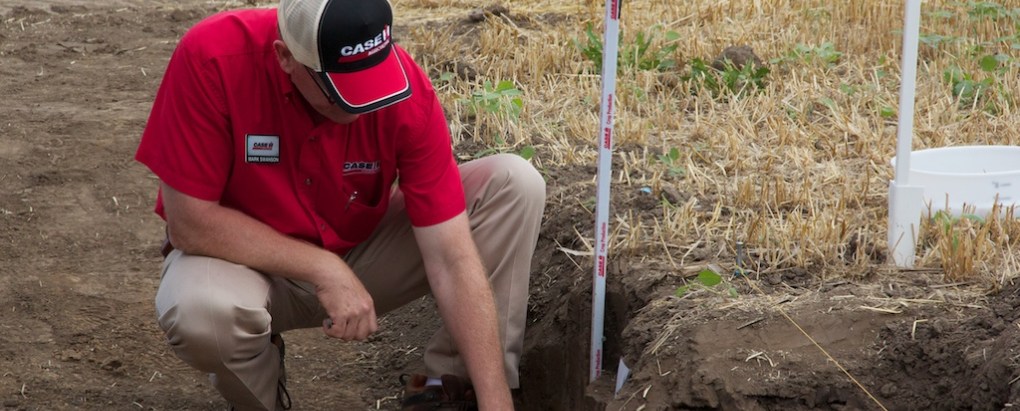
Step 1: Find the compaction layer
- Dig a hole in your field, away from traffic, about 18 inches deep.
- Insert the tip of a pocket knife into the bottom of the soil wall and gently pull up until excessive firmness is found. Do this a couple times in the same hole to confirm the depth of the compaction.
- The same process is used to find the top of the compaction layer. Insert the tip of the knife at the top of the soil and gently push down until firmness is found.
- Congratulations - you've now identified a potential hard-pan layer.
Step 2: Establish tillage penetration depth
- Set your points to 1 inch below the compaction layer
- Use CaseIH Tiger® points with their “lift, twist and roll” action to obtain proper relocation of fertilizer and residue
Step 3: Assess the residue finish on top of the surface
- Look at how level your surface is
- Aim to have no clods larger than 6 inches in diameter, which can put emergence of seedlings at risk in the spring.
For a more detailed explanation of the steps, see our video below.

